How to Set Up a Wedding QR Code for Photos (3-Minute Video Walkthrough)
WeddingSnap Team
11/11/2026
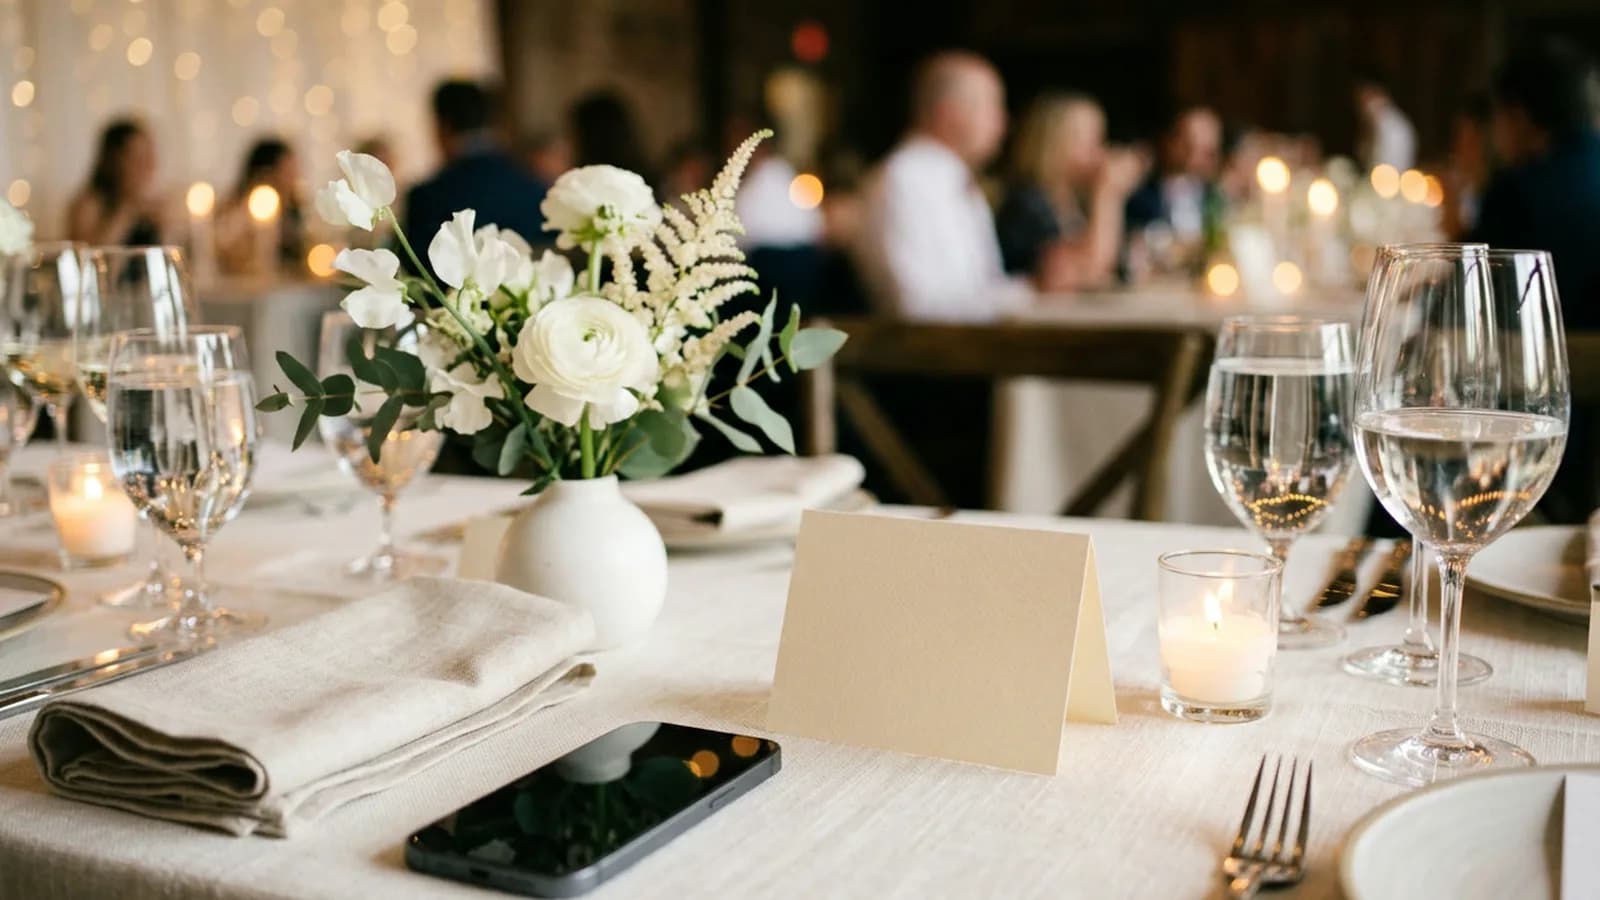
Setting up a wedding QR code for photos takes about three minutes. Getting guests to actually use it takes a little more thought. Below is our full walkthrough video, screen by screen, followed by the parts a video can't show you: how many signs to print, where they go, when to announce the code, and what to test the week before.
Full disclosure: we make a guest photo-sharing app, and the video shows our own setup. The placement, testing and timing advice works for any QR photo tool.
Jump to a chapter:
- 0:00 How it works: guests scan a QR code (no app, no account)
- 0:19 Step 1: Sign up and get your wedding QR code
- 0:27 Step 2: Name your event, pick the date and a package
- 0:41 Printed QR codes: table cards, signs and the Shot List card deck
- 0:58 Step 3: Customize your page (cover photo, welcome message, fonts)
- 1:13 Step 4: Your dashboard (share link, privacy, voice notes)
- 1:44 Step 5: Print it yourself from the templates
- 2:03 Step 6: What guests see when they scan
- 2:16 Step 7: After the wedding (gallery, download, Google Drive)
- 2:28 Optional: Virtual Content Creator videos
- 2:44 Recap
If you want the bigger picture first (what a QR code can do at a wedding beyond photos, and how to choose a platform), start with our complete guide to wedding QR codes. This post is the hands-on version.
Before you start: have these ready
- Your names as you want guests to see them and the wedding date. They are prefilled onto every sign and card later, so spell them the way you'd want them printed.
- One good cover photo. It is the first thing guests see after they scan. An engagement photo works well. Pick one that still reads when it's cropped small on a phone.
- A one-line welcome message. Something like "Thank you for being here. Add anything you take tonight, blurry ones included." Short beats sentimental here, because guests read it standing up with a drink in hand.
- A decision on printing. Print at home from the free templates, or have cards and signs printed and shipped. You can change your mind later.
The setup, step by step (with what the video doesn't say)
Step 1: Sign up and tap "Get your wedding QR code"
Go to weddingsnap.io and tap Get your wedding QR code. That's the whole step. Use an email you actually check, because that's where your login and receipt go.
Tip: if one of you is the "organized one," let that person own the account. Two people half-managing a gallery is how a sign ends up with last month's link on it.
Step 2: Name your event, pick the date and a package
Your event name becomes the heading on your guest page, so "Maya & Daniel" usually looks better than "Our Wedding 2027." Then choose a package:
- Signature ($39.99, one-time): the gallery itself. Unlimited photos and videos from unlimited guests, voice messages, a live reception slideshow, 50 GB of storage and full-resolution downloads.
- Virtual Content Creator ($79.99, or $99.99 if you'd rather keep the videos private): everything in Signature, plus three edited vertical videos made from what your guests upload.
At checkout you can also add printed QR codes. There are three types: table cards, full-size signs and the Shot List card deck. Pick a design and they're printed and shipped to your door, from +$35. After checkout, your page goes live a couple of minutes later.
Step 3: Customize your page
Upload your cover photo, add the welcome message, and change the fonts if you like. Then use preview as a guest. This is the step most couples rush, and it's the only time you'll see the page the way 100 people are about to see it.
Tip: preview it on your phone, not your laptop. Nearly every guest will open it on a phone, and a cover photo that looks great on a wide screen can crop awkwardly on a narrow one.
Step 4: Learn your dashboard
Your upload link and QR code live on the dashboard. From there you can:
- Copy the link to text or email it, or send it straight to WhatsApp. Useful for the people who can't make it, and for anyone who left before scanning.
- Order prints any time if you skipped printing at checkout.
- Switch off Public Gallery so only the two of you can see the photos. More on that choice below.
- Use voice notes, which are built in. Guests can record a toast or a message right next to the upload button. If you want ideas for prompting them, see our guide to the wedding audio guest book.
Step 5: Print it yourself (or don't)
Open Templates, pick a design, and your names, date and QR code are already filled in. Download the PDF and print at home or at a print shop. There are 24 designs, and they're also on our free QR code templates page. Cards print at business-card size (85 × 55 mm, double-sided) and signs at 8.5 × 11 inches. If you'd rather not deal with it, tap Order prints instead.
Want help choosing a design or making the sign wording work? Our roundup of wedding QR code sign templates covers the copy that gets people scanning.
Step 6: See what guests see
Guests point their phone camera at the code, tap Add photos & videos, pick from their camera roll and hit send. No app, no account. The files arrive in full original quality, not the compressed version a group chat would give you. You can try the guest side yourself on the live demo.
Step 7: After the wedding
Relive it in the gallery, then download everything at once or save the whole thing to Google Drive. Gallery access lasts a year. Anything you download is yours permanently, so don't leave the download for month eleven.
Optional: Virtual Content Creator
If you picked this package, editors turn your guests' footage into three edited vertical videos (9:16, 10 to 30 seconds, with licensed music), ready in 2 to 7 days, with one round of edits. Practical tip: tell your guests that videos count too. On our platform about 93% of uploads are photos and only about 7% are videos, so a short "send us your clips" nudge makes a real difference to what the editors have to work with.
How many QR signs you need, and where to put them
Our rule of thumb: one card per table, plus one big sign anywhere people queue or wait. A QR code only works if it's in front of someone at the moment they have their phone out and a spare minute. Good spots:
- Every reception table. A table card is the workhorse. Guests sit for an hour or more, phones on the table. One card per table is enough; two on long banquet tables, one at each end.
- The bar. People wait there with nothing to do. A full-size sign here gets scanned.
- The entrance or seating chart. Everybody walks past it once, early, before they've taken many photos. It plants the idea.
- The photo booth or a selfie spot, if you have one.
Skip the ceremony aisle. If you're asking people to put phones away during the vows, a QR code on every chair sends the opposite message.
Test the code before the wedding
A QR code is just a printed link. It never expires, but a typo, a bad print or a dim room can still trip it up. Ten minutes the week before saves a lot of stress:
- Scan a printed card with two different phones, one iPhone and one Android if you can. Both open QR codes straight from the camera app (Apple documents this in its iPhone User Guide).
- Upload one real photo and one short video from your own phone, then check they show up in the gallery.
- Scan it in low light. Reception rooms get dark. If the card is glossy, check that the glare doesn't hide the code under a candle or string lights.
- Check from a distance. A sign on an easel should scan from where guests will actually stand, not from six inches away.
- Delete your test uploads afterwards, or keep one as the first photo in the album.
When to announce it (the next day matters more than you think)
Ask your DJ, MC or best man to mention the code once, early in the reception, and point at the table cards. Once is enough. Then send the link again the next morning.
Here's why. On our platform, at weddings with 20 or more uploads, only about 40% of guest uploads arrive on the wedding day or night. Roughly 25% come in the next day, about 24% over the rest of the first week, and around 10% after that. That's more than half your photos arriving after the party ends, often from guests sitting on the train home scrolling their camera roll.
So the follow-up text is not an afterthought. Copy the link from your dashboard and send it to the family group chat or the WhatsApp group on day one, with something like "We'd love anything you took yesterday."
Public or private gallery: which to choose
With Public Gallery on, guests can browse what everyone else uploaded. That makes it feel social, and in our experience seeing other people's photos nudges guests to add their own. If you want that shared feeling in the room itself, a live reception slideshow does it on a big screen.
With Public Gallery off, only the two of you see the photos. Choose this if your guest list includes kids whose parents are cautious about photos, a work crowd, or simply relatives you'd rather not have browsing the after-party. You can still download and share whatever you want later.
Our opinion: for most weddings, leave it on for the night and switch it off a week later, once the uploads have slowed down.
Ready to set yours up?
WeddingSnap Signature is $39.99, one-time, with no subscription. Unlimited guests, full-quality uploads, voice messages and a live slideshow, plus 24 printable designs with your names and code already on them. There's a 30-day money-back guarantee on the software fee.
FAQ
How long does it take to set up a wedding QR code for photos?
About three minutes for the page itself: sign up, name the event, pick a package and check out. Your page goes live a couple of minutes later. Customizing the cover photo and printing cards takes longer, but none of it needs to happen on the same day.
Do guests need to download an app or make an account?
No. Guests scan the code with their phone camera, tap Add photos & videos, pick from their camera roll and hit send. There is no app and no login.
Can I print the QR code at home?
Yes. Open Templates in your dashboard, pick one of 24 designs, and your names, date and code are already filled in. Download the PDF and print it. If you'd rather not, printed table cards, signs and the Shot List card deck can be added from +$35 and shipped to you.
Can I keep the photos private?
Yes. Switch off Public Gallery in your dashboard and only the two of you can see the uploads.
How do I get all the photos after the wedding?
From the gallery you can download everything at once or save it all to Google Drive. Gallery access lasts a year, and anything you download is yours to keep.
Sources
- How to Collect Every Guest's Wedding Photos in 2027 (QR Code, No App): the WeddingSnap setup walkthrough on YouTube, published November 11, 2026.
- WeddingSnap pricing: package prices, inclusions and the printed add-on. Checked November 11, 2026.
- WeddingSnap free templates: 24 designs, card and sign sizes. Checked November 11, 2026.
- Apple iPhone User Guide — Scan a QR code with your iPhone camera.
- Upload timing and media mix: WeddingSnap platform data, anonymized, November 2026.
Related reading: the complete guide to wedding QR codes, how to make a QR code for wedding photos, and wedding QR code sign templates.